
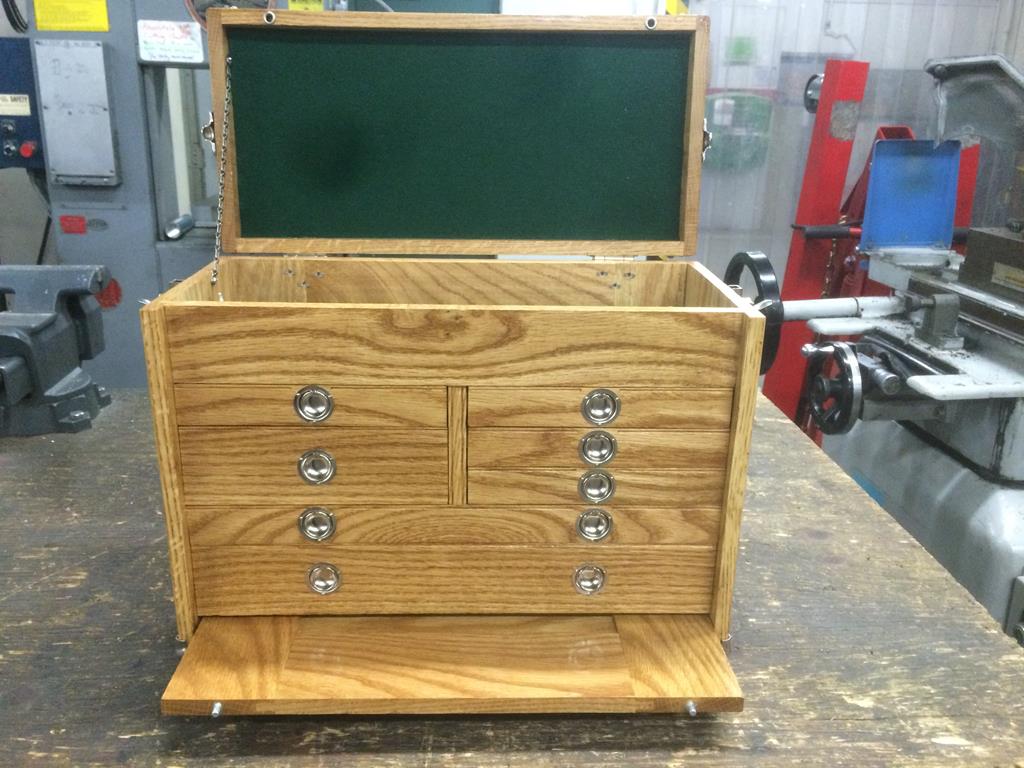
Toolchest diagram shown in article.
Through the years I’ve done many projects at Artisan’s Asylum, but I felt like I’d neglected to take full advantage of the woodshop and really do some good old-fashioned cabinetry. This, coupled with my interest in machining, led to my desire to build a classic machinist’s toolchest. Whether I’ll actually end up using it as such remains to be seen. Still, it was a good learning experience, and I screwed up at every step of the way, which is a good indication that I pushed the boundaries of my skillset.
The thing that made me finally take the jump was the plans in Woodsmith Magazine Issue #183. There is a hardware kit available with all the handles, corner guards, and other doodads to make the chest look really authentic. The kit is not exactly cheap at $150, but it is a lot of hardware.
For a while, I was still hesitating, so I made a 3D model of the chest in Solidworks. This was unnecessary, but did come in handy a couple of times where I could refer to the model rather than the blueprints for some measurements. It also forced me to actually examine all of the drawings and understand what they meant.
Lumber
On a bright December day I finally drove down to Downes and Reader in Stoughton and picked up $95 of white oak, 15.6 board feet. It came in the form of some 5/4 thick by 4.5” wide lengths, and some 5/4 thick by 6.5” wide lengths. I needed the 6” width for the front and back panels (N and J in the plans), which are 5 3/8” and 6” and wide. The panels making up the case are actually even wider, at 7 ¾”, but I was going to bookmatch them out of the narrower stock anyway. Although I initially kicked myself for buying way too much, it turned out that after all the mistakes, I’d gotten just enough.
The first tricky issue arose from the fact that I had 5/4 lumber, but the case parts were ½” thick. This didn’t leave much room for error when jointing, resawing, and planing the lumber to make two thinner boards that I could edge glue to make a bookmatched pattern. As a matter of fact, I ended up wasting a few lengths by sawing them crooked or jointing too aggressively. But I ended up with just enough to make all the parts that I needed, so it is possible.
The case sides and bottom and the lid sides and top (A, B, Q, and P) were all made of a single length so that the grain flows continuously around the toolchest. One minor mistake I made here is that the case sides are shifted relative to the lid sides and top because the case back is exposed to the sides. As a result, the center of my bookmatch pattern is shifted between the case and the lid, but not enough to completely ruin the continuity of the grain. If I were doing it again, I Would cut the lid parts asymmetrically to account for the thickness of the case back.
The other parts I was able to cut without too much trouble.


Box Joints and Drawer Guides
The next step was to use the box jig on the router table to make the finger joints on the case. I could have done it on the tablesaw with a dado set, but all of our dado blades were worn and didn’t make perfectly square cuts. I could have used the simpler jig shown in the plans, but I happened to have inherited an INCRA IBox jig from another Asylum member and wanted to try it out.
While one might think that the jig makes finger joint cutting a no-brainer, it’s actually rather finicky to set up. Once I got the widths more or less correct, I tried cutting the fingers on parts A and B. The A parts went well enough, but on B I made the mistake of not fully seating the part on the peg, which caused all of the fingers to be shifted slightly. As a result, that part B had to be replaced.


The next part B I glued up was slightly too thin, but I proceeded with it anyway. I cut the fingers correctly, but when I tried to cut the slot for the front panel on the router table, I went in the wrong direction, creating a crooked slot, and ruining the part.
I made a third part B, which turned out to be too short. The fourth one was the charm. The fingers on one side did not quite match up, with visible gaps, but I decided to live with it.
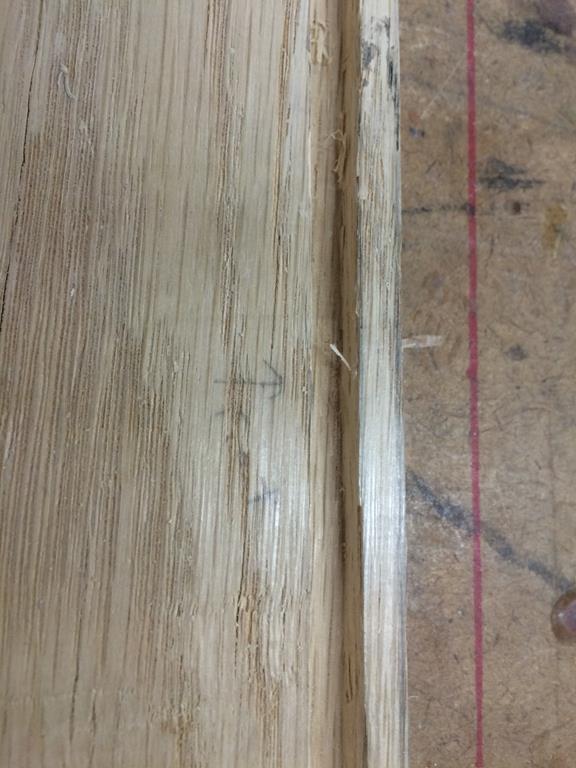
Another tricky thing was the attachment of the drawer guides G to the sides. The plans called for ½” ringshank nails which I couldn’t find. The closest I could get was ½” screw nails from McMaster. These have a rather low-pitch “thread” to help secure the nail once it’s driven in. Thinking they wouldn’t be secure enough on their own, I glued the guides. In retrospect this may have been a mistake. Elsewhere the instructions say not to glue certain parts together in order to allow for movement of the wood. Since the grain on the guides and the sides is oriented in crosswise directions, it’s possible that the glue may end up getting me into trouble. Another issue I ran into was splitting of the sides. The instructions don’t call for drilling pilot holes, but after the first nail made a nice wide crack in one side, I predrilled the rest of them. Since I wasn’t going to replace the cracked side, I spread some glue in the crack and glued it up hoping the crack wouldn’t spread further.
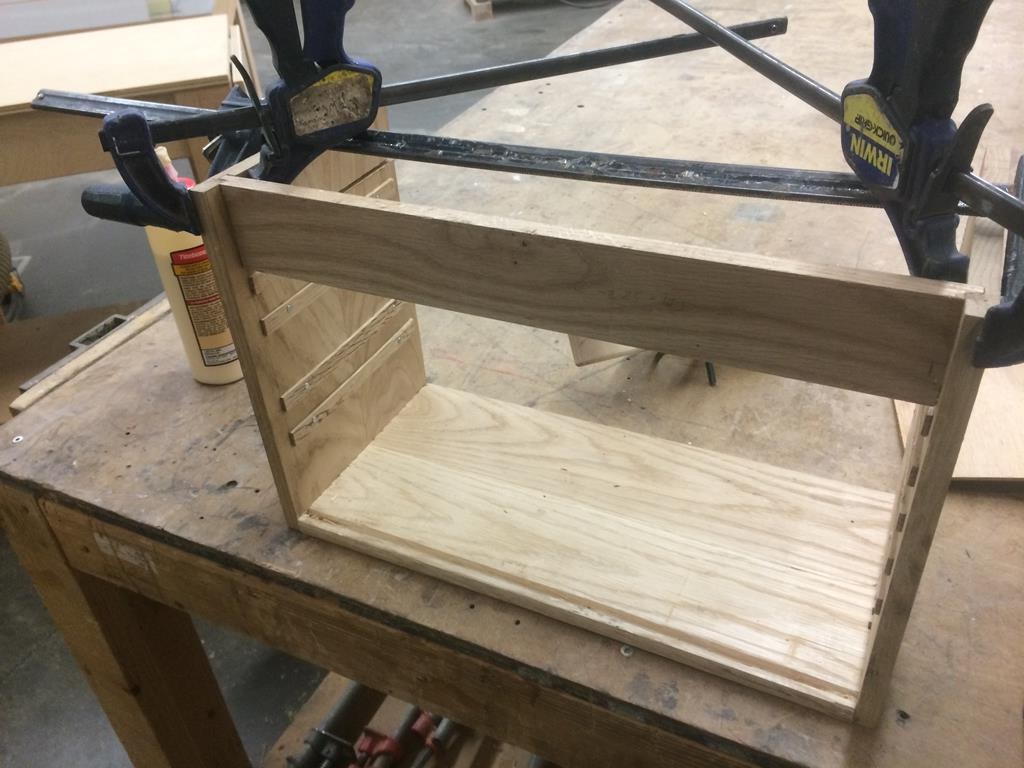
The next step was the glue-up of the case. I neglected the “tip” in the instructions to use rectangular pieces of plywood to help ensure squareness. The sides ended up tapering outward slightly, which is visible as a widening gap around the front panel when it is in. A bigger issue was that the bookmatched panels bowed somewhat when I glued them, so they were no longer totally flat. I used clamps to try to force them together at the box joints hoping this would fix the problem.
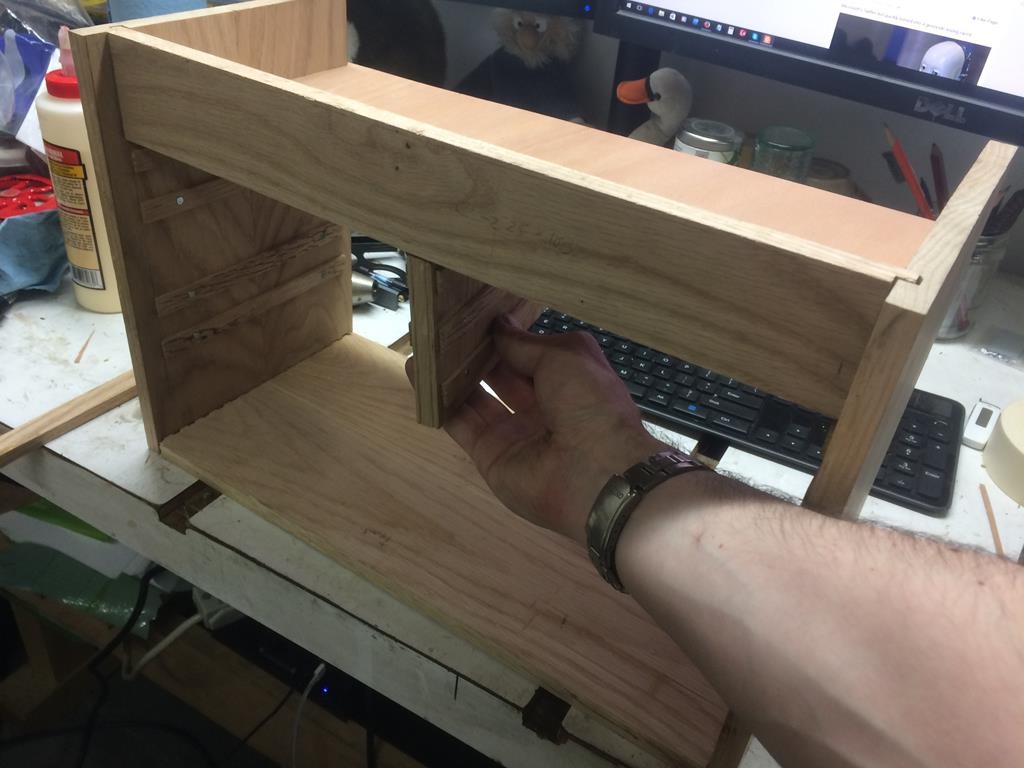

The Front Panel Slot
It was only after everything was clamped that I realized, I had forgotten to cut the front panel slot in panel B. This slot was the reason why I had to throw away my second attempt at B. At this point there was no turning back so I would have to cut the slot with everything assembled. I started by using a 1” chisel to mark out the slot, and a 1/8” chisel to start clearing away material.
Naturally, it was tricky to use the chisel to cut the slot to a consistent depth. I considered my options. There wasn’t nearly enough space to use an electric router. I didn’t have a router plane. I considered asking to borrow one on the Asylum mailing list. But then I remembered – I had bought a book years ago called Making Wood Tools. I had yet to actually try any of the projects in there. But I remembered that one of them was a basic router plane. Ah-ha! The router plane used a small Allen key ground to a sharp edge as the cutter, and a block of hard maple as the body of the plane.
After assembling the plane, I tried it out on the slot. While I still couldn’t get the very ends of the slot this way, most of it came out quite well considering. Since I didn’t cut the slot beforehand, I didn’t have to plug the ends of the slot that would otherwise be visible from the sides of the chest.


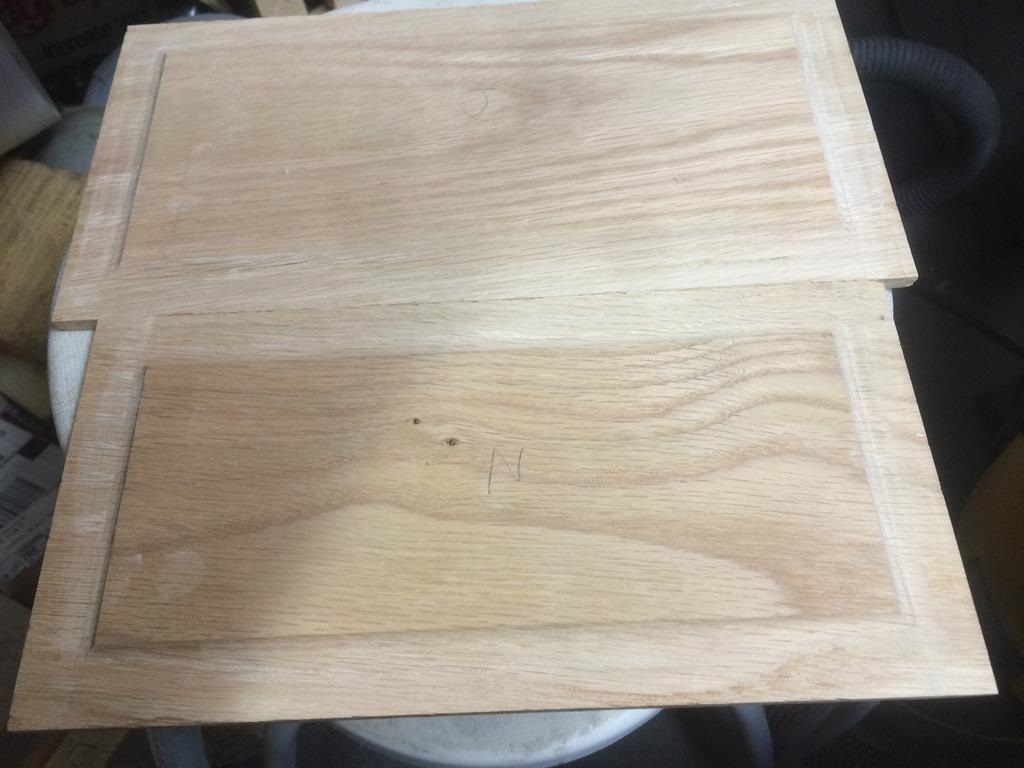
Front and Rear Panels and Lid
Surprisingly I didn’t screw up cutting the parts for the front and rear panels in any way that I’m aware of. However, once I had already glued up the back panel, I dropped it on the floor, cracking one of the vertical stiles almost in half. Because they are only half an inch thick with a quarter inch slot in them, they are somewhat fragile in that area. I had to glue and clamp the crack and hope it would stay together. It seems to have worked.
The lid required finger joints on lid front/back and sides O and P. Unsurprisingly, I messed these up by failing to secure one of the Ps in the jig, causing the part to crack and one of the fingers to break off. I glued together the crack, and glued in a chunk of wood to replace the missing finger after the sides were glued up. The top panel was supposed to be glued to the sides and nailed to the front and back in order to allow for wood movement. This arrangement scares me, because when the chest is carried by the handle, all of the weight will be going through the handle in the middle of the top. Thus it seems likely that if the top is held in by nails, these will gradually work themselves out. We’ll see. I used brads with a pneumatic brad gun, and filled the resulting holes with wood putty.
I also taped on the lid to the chest as specified and rounded the edges of the chest at this point.


Drawers
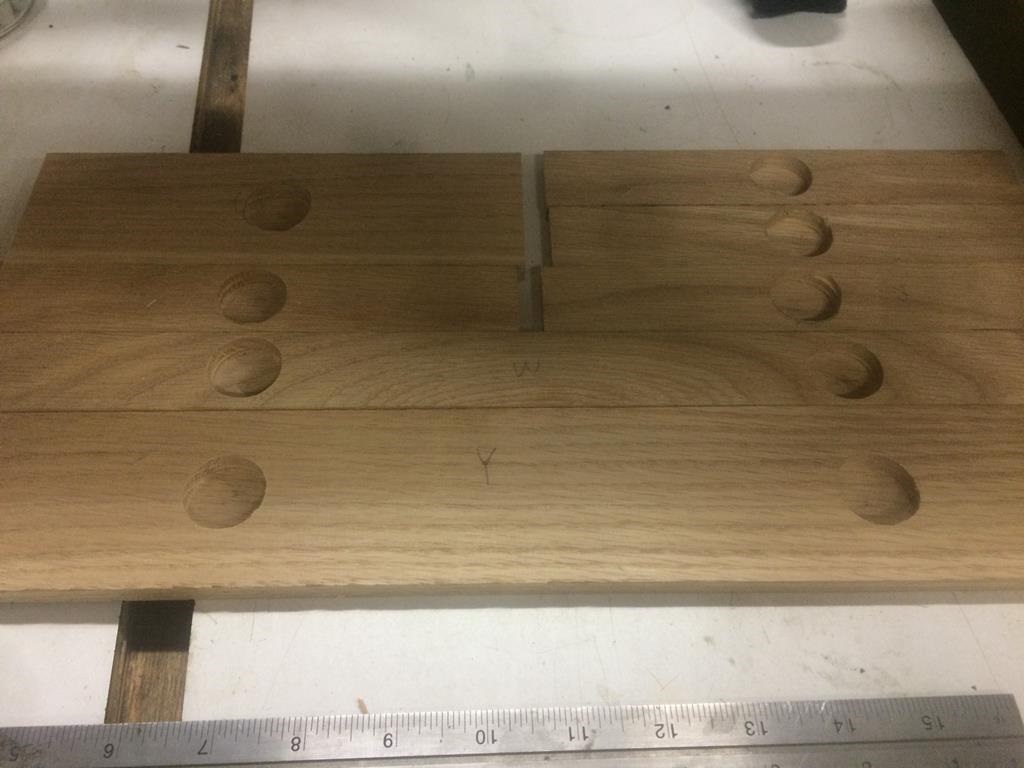
The next step was to finish the drawer parts and assemble them. For cutting the handle recesses on the drawer fronts, I bought a ½” pattern bit from Rockler which was the equivalent of the Dado bit specified in the plans. I made a simple template more or less as directed, using a single piece of plywood with a hole, and three pieces of wood to locate the drawer front precisely. Unfortunately I didn’t take enough care to make sure the router was not spinning as I positioned it over the jig, thus ruining the hole and two of the drawer fronts R.
I made a new jig and successfully cut the recesses for all of the 1 ¼” high drawers. I started on the 2 ½” drawers, but made the same mistake, damaging the jig. Made a third jig, and the remaining recesses.
Since we have a tenon jig in the woodshop, I was able to avoid using the custom jig described in the plans for the drawer joinery. This was quite satisfactory. At this point I went ahead and assembled all of the drawers.
The next step was getting the drawers to fit inside the chest. Initially, none of them fit. The plans did not really specify any kind of clearance between the drawers and the case, so this is not too surprising. The width of the full-width drawers is 16”, for instance, and the inside width of the case is also exactly 16”.
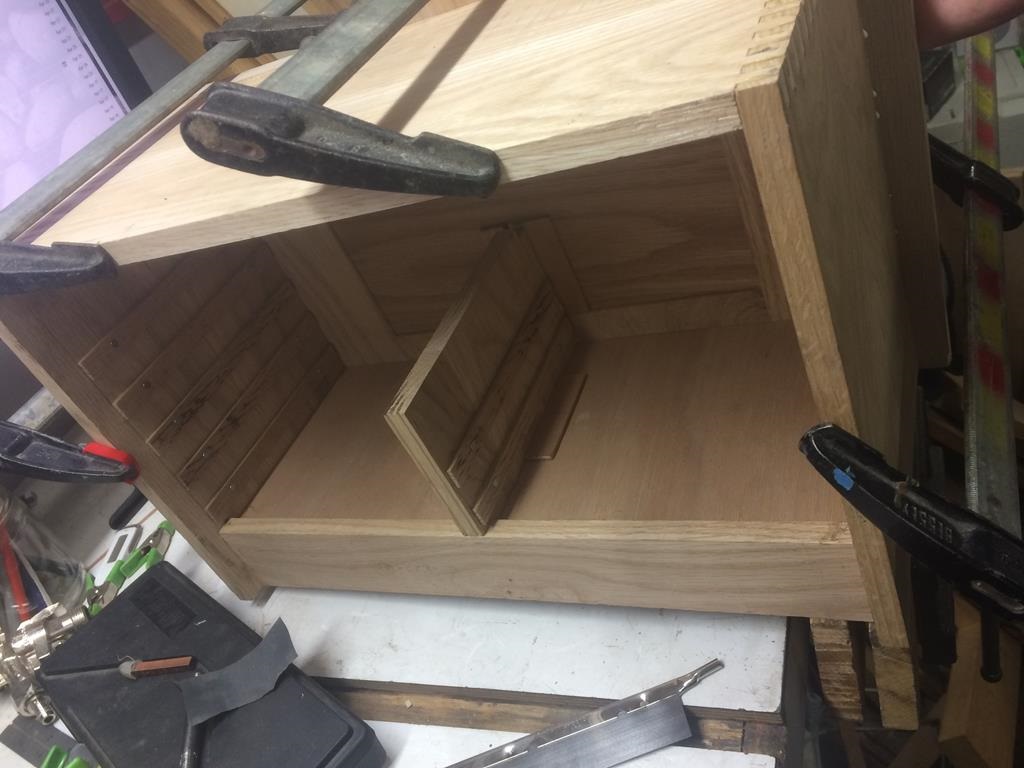
Though I carefully measured the center panel F when I was initially gluing it in, it turned out to be both off-center and tilted. I blame this on the fact that it is initially positioned to the two panels that it is attached to, but these are not glued in precisely. So it would be better to just wait to install the panel once the case is assembled. I broke the panel out, repositioned it carefully using the drawers as guides, and reinstalled it.
After this I carefully sanded the drawers to width so they would slide into the chest and height so they would not interfere with each other. I used an ordinary belt sander for this. I also glued a strip of sandpaper to a stick and sanded a few of the drawer guides to allow the drawers to sit a bit lower to give them more room to slide. Eventually I was able to get all of the drawers to fit in place.


Finishing
At this point it was time for final sanding and finishing. The first step was to drill the holes for the lid hinges, and mount the lid temporarily using bolts. Since the side panels bowed when they were initially glued up, and I flattened them at the finger joints using clamps, they were still slightly bowed at the top. Thus I had to sand around 1/16” of material away to get them flush to the lid. Then I removed the hinges. Also at this stage I used wood putty to fill any gaps between the finger joints and the other parts.
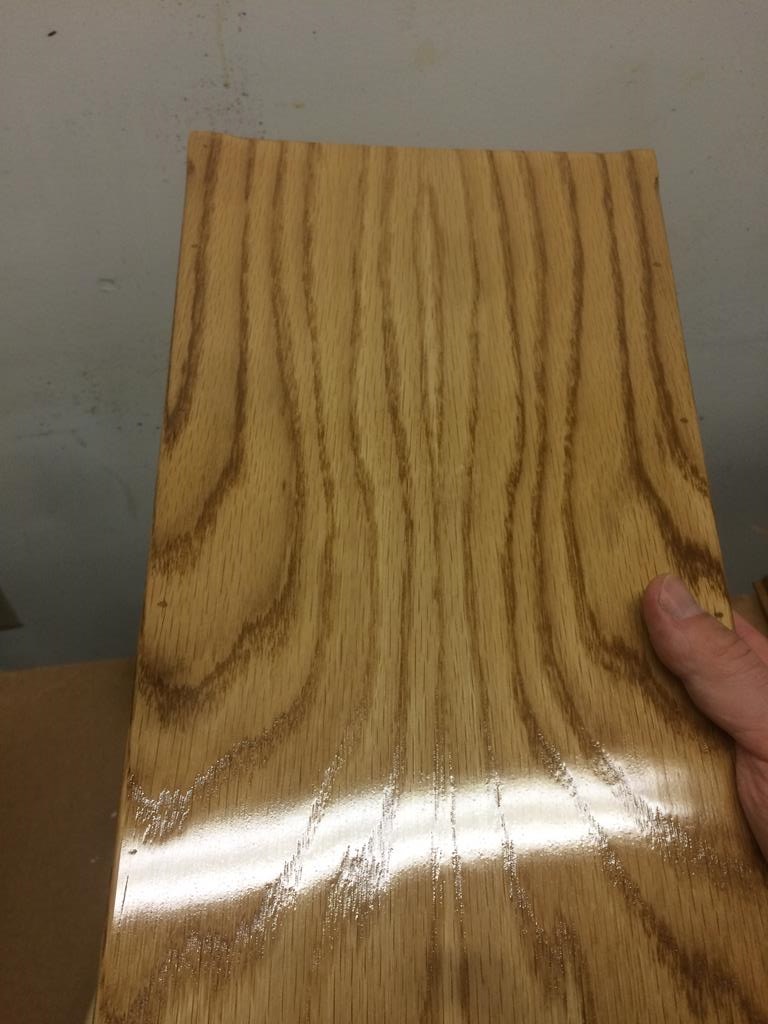
I finish sanded all of the parts with 120 and then 220 grit, then stained them with Minwax Golden Oak 210B. I first applied two coats of Minwax wipe-on satin polyurethane using foam brushes on all of the surfaces. I then applied two coats of the same brand gloss polyurethane on just the outside surfaces, the inside of the front panel, and the drawer fronts, sanding in between with 220 grit. I was still not getting a satisfactory finish, so after the second coat I sanded with 400 grit. The third coat looked much better so I decided to leave it there.


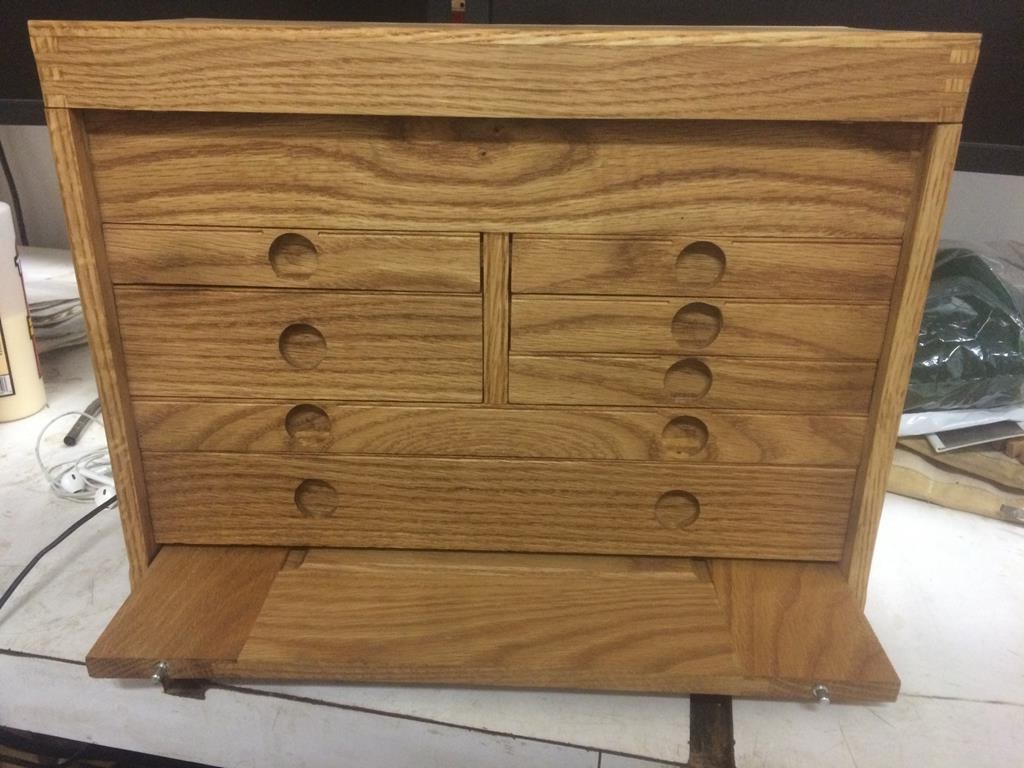


At this point I installed all of the hardware. This was mostly a trouble-free process. The handle seems a bit flimsy and will likely not stand up to a serious load, if the top panel doesn’t give out first.
I ordered a yard of green felt from an online fabric supplier for $10/yard. I didn’t take note of ordering genuine wool felt as mentioned in the magazine, so I’m pretty sure I got imitation felt. We’ll see if I end up regretting it. I glued it to card stock and installed it into the drawers and lid.


Conclusion
Overall I am pleased with the outcome of the project and what I have learned. However I think the instructions leave something to be desired for a beginner. They should have provided the important information in the order that it was needed, rather than forcing the reader to flip through sidebars and asides to get the complete instructions. Also, they didn’t provide any information on how to ensure a good fit for the drawers, which might have been helpful.
In the end I found myself wishing I had just slapped my lumber on the CNC router and cut the more troublesome parts, the case sides with finger joints and the drawer handle recesses, by machine. While I found most of the cuts on the table saw straightforward enough, they were also tedious. While it’s nice to know that I can actually cut things to the width required, the satisfaction doesn’t last long enough to justify cutting the same parts over and over.
I find myself inspired by the idea of a CNC-routed toolchest kit that only requires a few table saw cuts and basic assembly in the end. Perhaps I will attempt to develop something like this at some point.